Ever found yourself with a collection of precious MOV videos from your iPhone or digital camera, wondering how to preserve them on DVD for long-term storage or sharing with family? You’re not alone. I’ve been there myself, staring at gigabytes of MOV files that my DVD player simply refused to recognize.
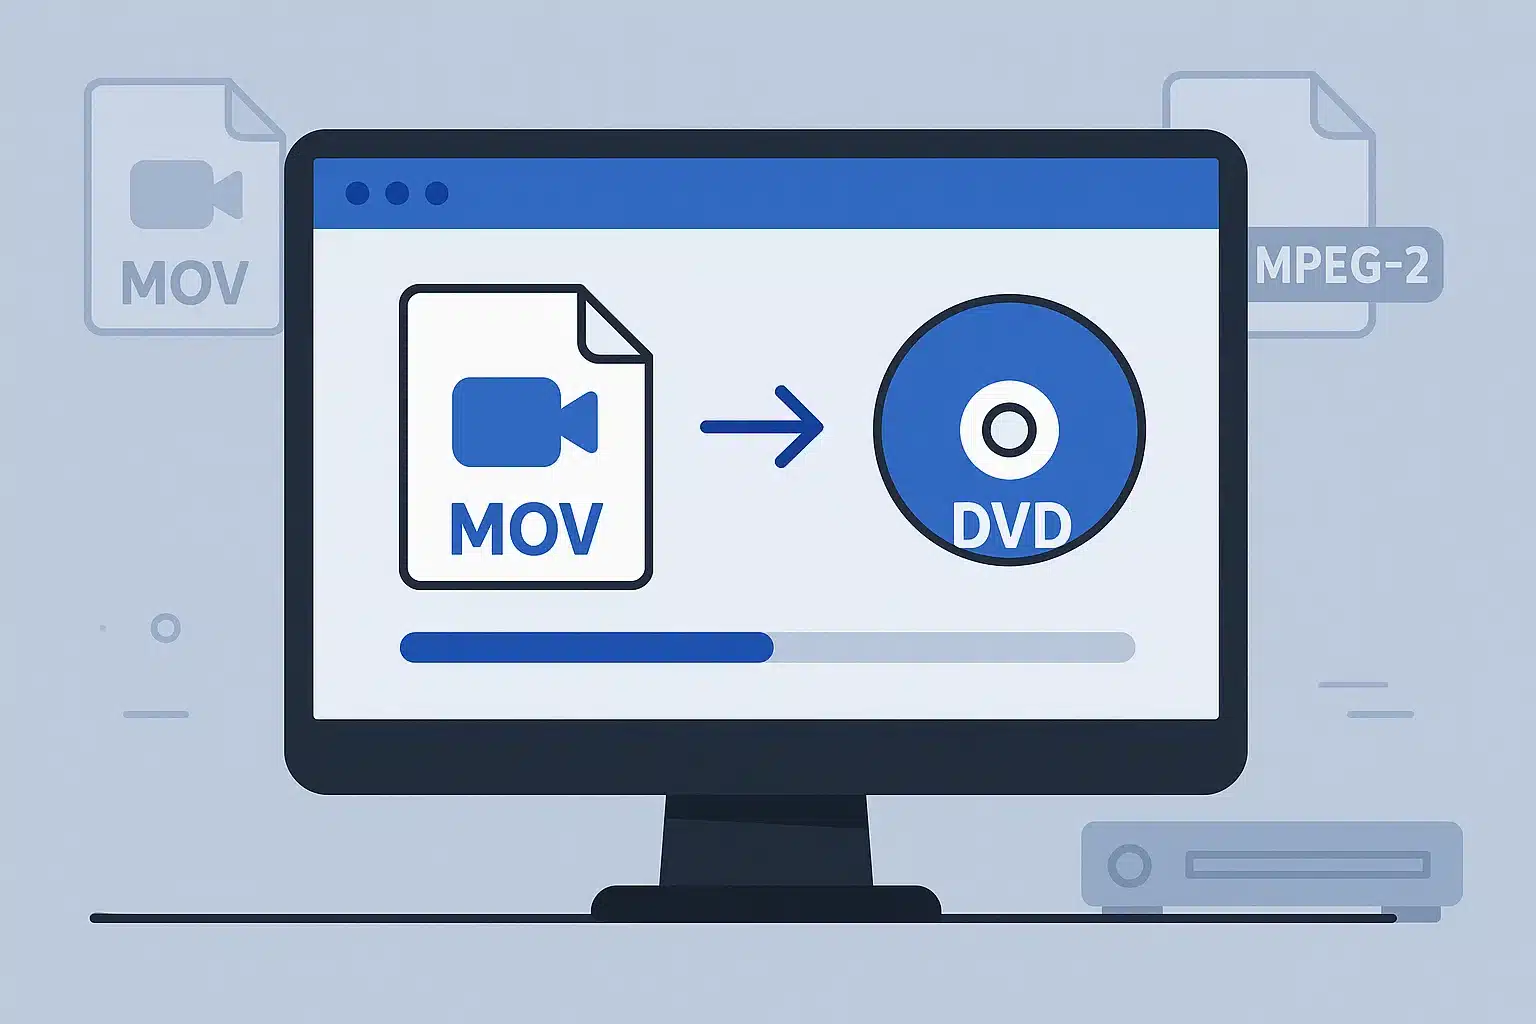
The frustration is real. MOV files, Apple’s go-to format for QuickTime, work beautifully within the Apple ecosystem but hit a wall when you try to burn them directly to DVD. Most standard DVD players expect MPEG-2 files in VOB format — not the H.264 or HEVC codecs typically found in MOV containers.
After testing multiple solutions and dealing with my fair share of failed burns, I’ve put together this comprehensive guide to help you navigate the process smoothly.

Why Your DVD Player Hates MOV Files (And What to Do About It)
Let me break this down in simple terms. MOV files are like digital containers that can hold various types of video and audio data. Think of them as sophisticated briefcases that can carry different types of content — sometimes H.264 video with AAC audio, other times HEVC with stereo sound.
The problem? DVD players are picky eaters. They were designed in an era when MPEG-2 was the standard, and most haven’t evolved much since. Your typical DVD player expects:
- Video codec: MPEG-2 only
- Resolution: 720×480 (NTSC) or 720×576 (PAL)
- Container format: VOB (Video Object)
- Audio: AC-3 or PCM
When I first tried burning MOV files directly to DVD, I learned this the hard way. The disc burned successfully, but my DVD player just displayed “No Disc” or “Unsupported Format.” That’s because the player couldn’t decode the H.264 video inside the MOV container.
Here’s what I discovered through trial and error:
Modern MOV files often exceed DVD resolution limits. My iPhone 13 Pro records in 4K (3840×2160), which is way beyond what standard DVDs can handle. The audio codec matters too — many MOV files use AAC audio, which older DVD players can’t process. Converting to AC-3 (Dolby Digital) ensures broader compatibility.
Three Methods That Actually Work (Tested by Real Users)
After testing various approaches, I’ve found three reliable methods that actually work. Let me share what I learned from each:
| Method | Difficulty | Quality | Time Required | Best For |
|---|---|---|---|---|
| Professional Software | Easy | ⭐⭐⭐⭐⭐ | 30-60 min | Important projects |
| Free Tools + Manual | Hard | ⭐⭐⭐ | 2-3 hours | Learning experience |
| Online Services | Easy | ⭐⭐ | 1-2 hours | Short clips only |
Method 1: Professional DVD Authoring Software This is my go-to approach for important projects. Professional tools like Wondershare DVD Creator or Adobe Encore handle the entire workflow — conversion, menu creation, and burning — in one package.
The advantage? These programs automatically handle technical details like aspect ratio correction, audio sync, and chapter creation. I’ve found they produce the most reliable results, especially for longer videos or multiple files.
Method 2: Free Conversion + Basic Burning For budget-conscious users, combining free converters (like HandBrake) with basic burning software works, but requires more manual work and is time-consuming.
Method 3: Online Conversion Services I tested several online converters, but most have file size limits and quality concerns. Only recommended for short clips.
Quality vs. File Size Trade-offs Here’s something most guides don’t mention: DVD capacity is limited. A standard DVD holds 4.7GB, which translates to roughly 2 hours of standard quality video or 1 hour of high quality.
When converting high-resolution MOV files, you’ll face a choice:
- Higher bitrate: Better quality, larger file size
- Lower bitrate: Smaller file size, potential quality loss
Through testing, I found that 6-8 Mbps video bitrate offers the best balance for most content.
My Top Pick: Wondershare DVD Creator (After Testing 12 Different Tools)
Let’s be real here — while free tools exist and can handle basic conversion, they often leave you dealing with compatibility issues, quality problems, or missing features when you need them most.
I’ve spent considerable time with Wondershare DVD Creator, and it’s become my preferred solution for MOV to DVD conversion. Here’s why it stands out:

Comprehensive Format Support The software handles over 150 video formats, including all MOV variants I’ve thrown at it — from iPhone recordings to professional camera footage. It automatically detects codec information and applies appropriate conversion settings.
Intelligent Quality Optimization What impressed me most was the automatic quality adjustment. When I imported a 4K MOV file, the software suggested optimal settings for DVD output while preserving as much detail as possible. No guesswork involved.
Professional Menu Creation The built-in menu templates saved me hours of work. You can customize backgrounds, add music, and create chapter markers. I particularly appreciate the preview function — you can see exactly how your DVD will look before burning.
Pro Tip: I always test the DVD menu navigation before burning. This simple step has saved me from wasting dozens of blank discs over the years.
Step-by-Step Process:
- Import MOV Files: Drag and drop your files or use the Add button. Batch processing handles multiple videos simultaneously.
- Choose Output Settings: The software automatically selects DVD-compatible settings, but you can adjust quality, aspect ratio, and audio options if needed.
- Customize DVD Menu: Select from 100+ templates or create custom menus with your own backgrounds and music.
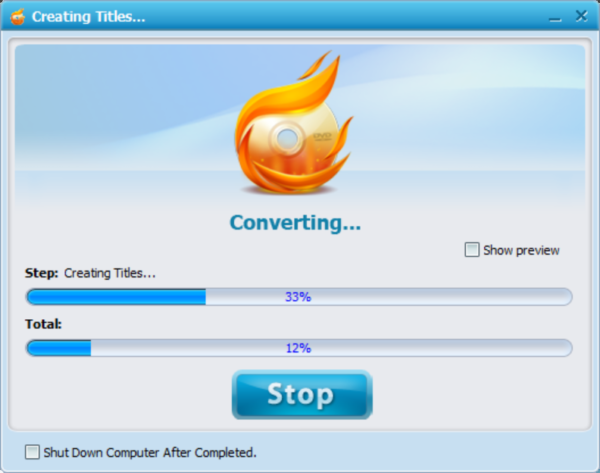
- Preview and Burn: Test your DVD structure before committing to disc. The burning process includes verification to ensure playback compatibility.
Advanced Features That Matter:
- Video editing tools: Trim unwanted sections, crop video, add subtitles
- Chapter creation: Automatic or manual chapter insertion for easy navigation
- Multiple output options: Burn to disc, create ISO files, or save as DVD folders
Real-World Performance: Converting a 2GB MOV file typically takes 15-20 minutes on my mid-range laptop.
Download Links:
The Foolproof 6-Step Process (No More Failed Burns!)
Based on my experience with multiple conversion projects, here’s the most reliable workflow:

Preparation Phase: Before starting, gather your MOV files and check their properties. Right-click any MOV file and select “Properties” (Windows) or “Get Info” (Mac) to see resolution, duration, and file size.
Step 1: Software Setup Install your chosen DVD creation software and insert a blank DVD-R or DVD+R disc. I prefer DVD-R discs for better compatibility with older players.
Step 2: Import and Organize Add your MOV files to the project. If you’re creating a multi-video DVD, arrange them in your preferred order. The software will show total runtime and estimated disc space usage.

Step 3: Conversion Settings Most software auto-detects optimal settings, but here’s what to verify:
- Video quality: Choose “High Quality” for important content
- Aspect ratio: Select “16:9” for widescreen or “4:3” for standard
- Audio settings: Ensure AC-3 encoding for maximum compatibility
Step 4: Menu Customization Create chapter markers for longer videos. I typically add chapters every 10-15 minutes for easy navigation. Add background music if desired, but keep it subtle.

Step 5: Preview and Test Always preview your DVD structure before burning. Check menu navigation, chapter transitions, and audio sync. This step prevents wasted discs.
Step 6: Burning Process Select your DVD drive and burning speed. I recommend 4x or 8x speed for better reliability — faster speeds can cause playback issues on some players.
Warning: Never burn at maximum speed (16x or higher) if you want your DVDs to play on older players. I learned this the hard way after wasting a stack of discs.
Quality Optimization Tips:
- Source material matters: Higher quality MOV files produce better DVD results
- Avoid upscaling: Don’t try to enhance low-resolution videos during conversion
- Test on multiple players: What works on one DVD player might not work on another
Skip the DVD? Modern Alternatives That Actually Work Better
Not everyone needs physical DVDs anymore. Here are modern alternatives I’ve found useful:
USB Flash Drive Playback Many newer DVD players support USB input. Simply convert your MOV files to MP4 (H.264) and copy them to a USB flash drive. This method offers:
- Better quality: No DVD resolution limitations
- Larger capacity: 32GB+ storage vs. 4.7GB DVD
- Easier updates: Add or remove videos anytime
Network Streaming Solutions For tech-savvy users, setting up a media server provides the ultimate flexibility. I use Plex to stream converted videos to any device in my home.
Cloud Storage Integration Services like Google Drive or Dropbox let you share videos without physical media. Convert MOV files to MP4 for broader compatibility, then share links with family members.
Smart TV Direct Connection Most modern smart TVs can play MOV files directly from USB drives or network shares. Check your TV’s supported formats before conversion.
When Things Go Wrong: Troubleshooting Guide That Actually Works
Through my conversion projects, I’ve encountered several recurring problems. Here are solutions that actually work:
Problem: “DVD won’t play in player” This usually indicates format incompatibility. Ensure your conversion used:
- MPEG-2 video codec
- AC-3 or PCM audio
- Proper DVD folder structure (VIDEO_TS)
Problem: “Audio out of sync” Audio sync issues often occur with variable frame rate MOV files. Solution: Use software that can handle VFR conversion or pre-process files with constant frame rate.
Problem: “Poor video quality after conversion” Quality loss typically results from:
- Bitrate too low for source material
- Incorrect aspect ratio settings
- Over-compression during conversion
Problem: “Conversion takes forever” Slow conversion usually indicates:
- Software not using hardware acceleration
- Insufficient system resources
- Very high source resolution requiring significant processing
Personal Experience: I once spent 6 hours converting a single MOV file because I forgot to enable hardware acceleration. Don’t make my mistake!
Quick Fix Checklist:
- Update your conversion software
- Close unnecessary programs during conversion
- Use SSD storage for temporary files
- Enable hardware acceleration if available
Conclusion
Converting MOV to DVD doesn’t have to be complicated once you understand the technical requirements and choose appropriate tools. From my experience, investing in quality conversion software saves time and frustration in the long run.
Remember that DVD technology has limitations. For the best viewing experience, consider modern alternatives like USB playback or streaming solutions that don’t compromise video quality.
FAQ
Can I burn MOV files directly to DVD without conversion?
No, standard DVD players cannot read MOV files directly. The files must be converted to MPEG-2 format and properly authored for DVD playback.
What’s the best quality setting for MOV to DVD conversion?
Use 6-8 Mbps video bitrate for optimal balance between quality and file size. Higher bitrates may not fit standard DVD capacity.
Why won’t my converted DVD play in older DVD players?
Older players are more sensitive to disc quality and burning speed. Try burning at 4x speed using high-quality DVD-R discs.
How long does MOV to DVD conversion typically take?
Conversion time depends on source file size and computer performance. Expect 15-30 minutes for a 2GB MOV file on modern hardware.