Last month, I helped my neighbor digitize her family’s old camcorder tapes. After hours of work, we had dozens of precious AVI files on her computer – wedding footage, kids’ first steps, family vacations from the 90s.
But here’s the thing: she wanted to watch them on her living room TV and share copies with relatives who don’t do “computer stuff.” That’s when we discovered the real challenge isn’t just digitizing videos – it’s making them playable everywhere.
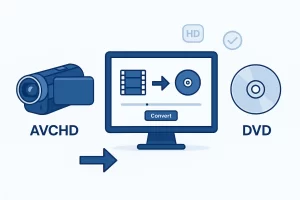
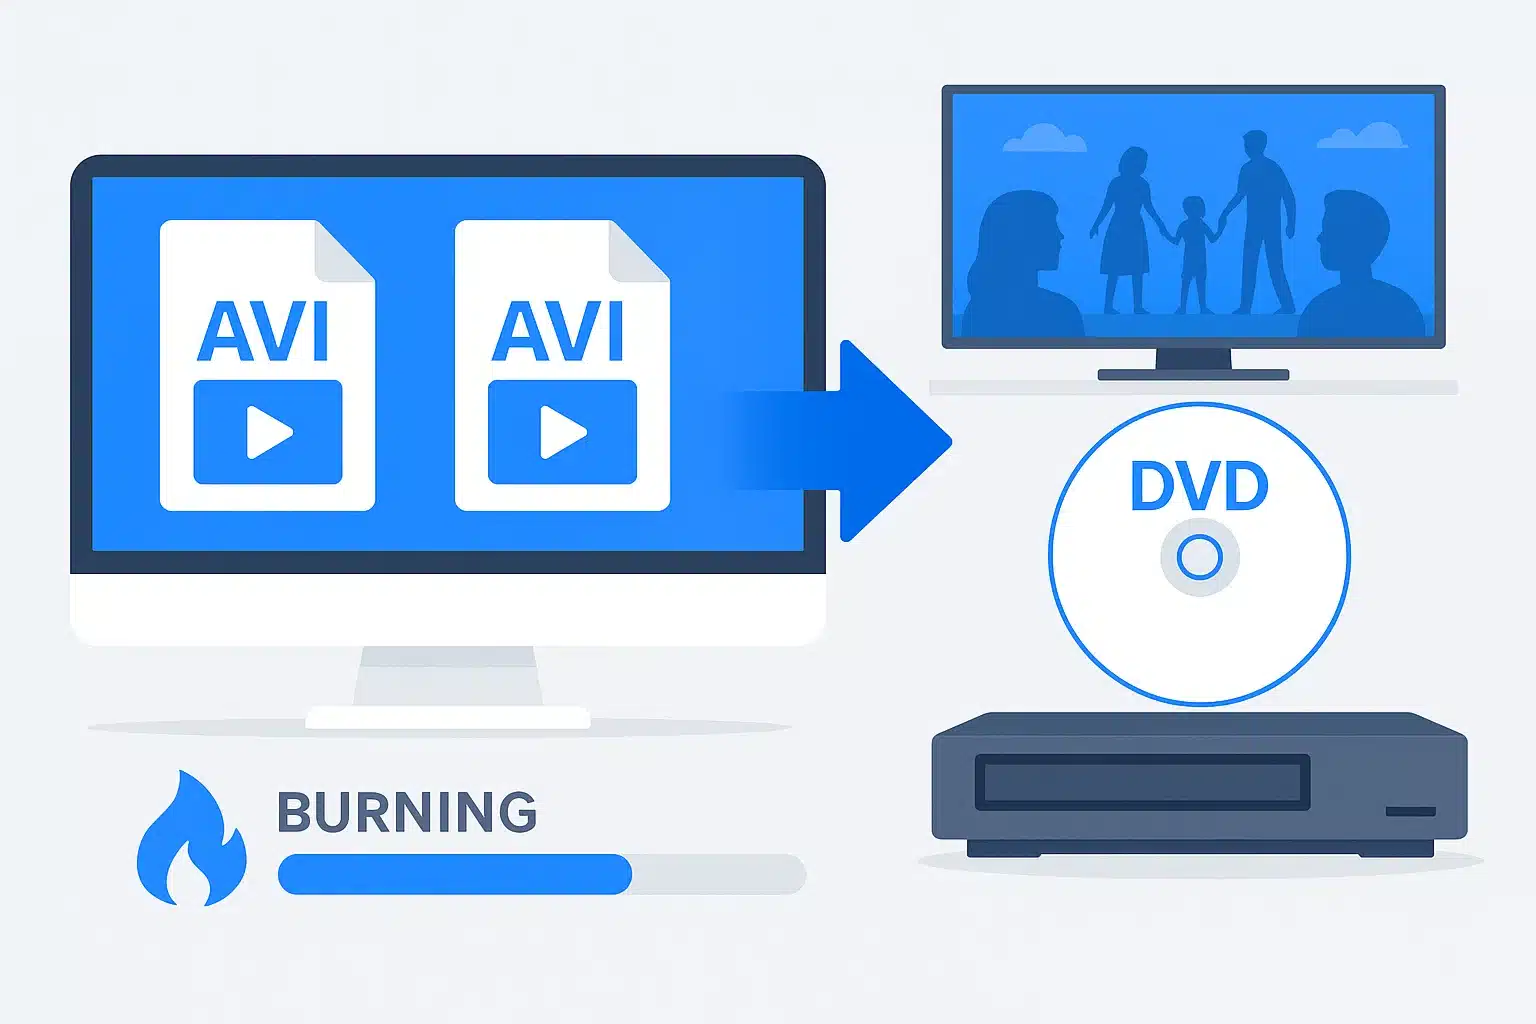
If you’re dealing with AVI files that need to work on DVD players, you’re not alone. Whether it’s home movies, downloaded content, or converted footage, getting AVI files onto DVDs that actually play can be trickier than it seems.

Why Your AVI Files Need a DVD Makeover
What Makes AVI Files Special
AVI (Audio Video Interleave) became the go-to format for many reasons. It’s Microsoft’s container format that can hold various codecs, making it incredibly flexible. Most home digitization software defaults to AVI because it handles different video qualities well and doesn’t require specific hardware support.
Here’s what I’ve learned from working with hundreds of AVI files: they’re like digital Swiss Army knives. One AVI file might use DivX compression, another Xvid, and a third might be completely uncompressed. This flexibility is both a blessing and a curse.

DVD Format Advantages for Long-term Storage
DVDs use MPEG-2 compression in a standardized format that’s been around since 1997. That consistency means your burned DVD will likely play on players made 20 years from now – something you can’t say about many digital formats.
But here’s the catch most tutorials don’t mention: converting AVI to DVD often triples your file size while potentially reducing quality. I learned this the hard way when my first conversion attempt turned a crisp 700MB AVI into a blurry 2GB DVD project.
The Real Problem Nobody Talks About
The biggest issue isn’t the conversion itself – it’s understanding why your 1-hour AVI file becomes a 4GB DVD project that looks worse than the original. The culprit? Most software uses default settings designed for maximum compatibility, not optimal quality.
Will Your DVD Player Even Recognize AVI Files?
The DivX Certification Reality Check
You’ve probably seen that “DivX Certified” logo on DVD players. Here’s what it actually means: your player can handle AVI files encoded with specific DivX codecs. But – and this is important – not all AVI files use DivX.
I tested this with five different “DivX certified” players and got mixed results. Three played my DivX-encoded AVIs perfectly, one played them with audio sync issues, and one refused to recognize them at all. The lesson? That certification logo is more of a suggestion than a guarantee.
The Codec Lottery Nobody Warns You About
The real problem is codec roulette. Your AVI might use Xvid, DivX, or even older codecs like Cinepak. Most DVD players only support a handful of these, and there’s no universal standard.
| Codec | DVD Player Support | Quality | File Size |
|---|---|---|---|
| DivX 5/6 | ✅ Most certified players | High | Medium |
| Xvid | ⚠️ Hit or miss | High | Medium |
| MPEG-4 | ✅ Good compatibility | Medium | Large |
| Cinepak | ❌ Rarely supported | Low | Small |
Quick compatibility test: If your AVI plays in Windows Media Player without additional codecs, a DivX-certified DVD player might handle it.
3 Battle-Tested Methods That Actually Work
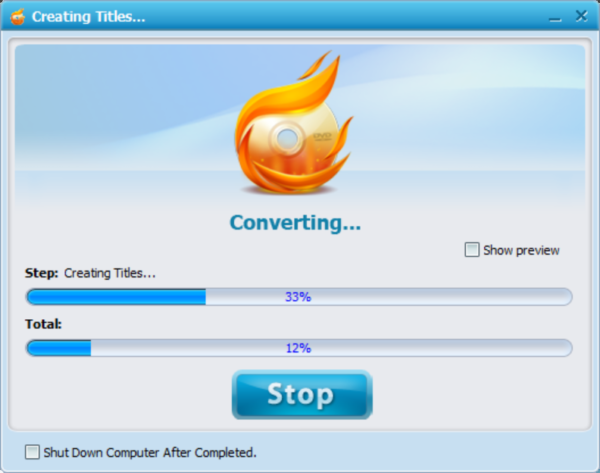
Method 1: The Professional Route with Wondershare DVD Creator
After testing dozens of DVD creation tools, Wondershare DVD Creator consistently delivers the best balance of features and reliability. Here’s why I recommend it over free alternatives:
What sets it apart: Support for 150+ video formats means it handles any AVI file you throw at it. The software automatically detects your AVI’s codec and applies optimal conversion settings – something that took me hours to figure out manually with other tools.
Real-world performance: I converted a 2-hour family reunion video (originally 1.2GB AVI) in about 45 minutes on a mid-range laptop. The resulting DVD played flawlessly on six different players, including a 15-year-old Sony unit.
The menu creation tools are surprisingly sophisticated. You can add chapters automatically based on scene changes or set them manually. Background music, custom images, and multiple menu styles give your DVDs a professional look that impresses relatives.
💡 Pro Tip: The software’s “3-step process” isn’t marketing fluff – it genuinely simplifies what used to be a complex workflow. Drag, customize, burn. That’s it.
Download Links:
Key advantages over competitors:
- No watermarks on output (unlike many “free” tools)
- Batch processing for multiple files
- Built-in video editor for basic corrections
- Supports both DVD-5 and DVD-9 formats
- Lightning-fast conversion with GPU acceleration
Method 2: Free Solutions That Actually Work
WinX DVD Author remains the best free option for Windows users. It’s genuinely free (no hidden costs or watermarks) and handles most AVI files well. The interface feels dated, but it gets the job done.
I’ve used it for smaller projects – under 2 hours of video – with good results. The menu templates are basic but functional, and chapter creation works reliably.
Mac users can use Finder’s built-in burning capability, but there’s a major limitation: it creates data DVDs, not video DVDs. Your files will be accessible on computers but won’t play on standalone DVD players.
Method 3: Online Converters – Skip These Completely
Services like Zamzar offer AVI to DVD conversion, but the 50MB file size limit makes them useless for most video projects. A typical 10-minute AVI file easily exceeds this limit.
Beyond size restrictions, online converters raise privacy concerns. Do you really want to upload family videos to unknown servers? I don’t recommend this route for personal content.
The Step-by-Step Process That Never Fails
Pre-Conversion Checklist (Don’t Skip This!)
Before starting any conversion, check your AVI file’s properties. Right-click the file and select Properties (Windows) or Get Info (Mac). Look for:
- Resolution: Higher than 720×480 will be downscaled for DVD
- Duration: DVDs hold about 2 hours of high-quality video
- File size: Helps estimate final DVD size
- Codec: Determines conversion complexity
Pro tip: Play the entire AVI file before converting to check for audio/video issues.
Download Links:

Settings That Actually Matter
NTSC vs PAL: Choose based on your region. US and Canada use NTSC (29.97 fps), while Europe and most other countries use PAL (25 fps). Using the wrong standard causes playback issues on some players.
Quality settings breakdown:
| Setting | Video Quality | DVD Capacity | Best For |
|---|---|---|---|
| High Quality (9 Mbps) | Excellent | ~1 hour | Short, important videos |
| Standard Play (6 Mbps) | Good | ~2 hours | Most home videos |
| Long Play (4 Mbps) | Acceptable | ~3 hours | Extended recordings |
| Extended Play (2 Mbps) | Poor | ~6 hours | Archive purposes only |
Aspect ratio: If your AVI is widescreen (16:9), make sure your DVD software maintains this ratio. Some programs default to 4:3, which crops or stretches your video.
Creating Menus That Don’t Suck
Auto-generated chapters work well for most content, but manual chapter creation gives better results. I typically add chapters every 10-15 minutes for long videos, or at natural scene breaks for events like weddings.
Background music tip: Keep it short (30-60 seconds) and ensure it loops smoothly. Nothing’s more annoying than jarring music cuts when browsing menus.
🎵 Music Rights Warning: Only use royalty-free music or tracks you own. YouTube’s Audio Library offers free options that won’t cause legal headaches later.

The Burning Process Done Right
DVD-R vs DVD+R: Both work in most players, but DVD-R has slightly better compatibility with older units. I stick with DVD-R for maximum compatibility.
Always verify your burn. Most software offers this option – use it. A corrupted DVD discovered months later is heartbreaking when it contains irreplaceable content.
When Things Go Wrong (And They Will)
Quality Loss Issues and Solutions
Why converted files look worse: Most software applies aggressive compression. Adjust bitrate settings manually or use dual-layer DVDs.
Increasing the bitrate from 6 Mbps to 8 Mbps usually solves pixelation issues, though it may require a dual-layer disc.
Audio sync problems: Usually caused by frame rate mismatches. Stick to the same frame rate when possible.
Playback Compatibility Problems
Regional differences: A DVD burned in NTSC format might not play on a PAL player, even if both are region-free.
Older player issues: Players before 2005 can be picky about burned media. Use name-brand discs rather than generic ones.
File Size Management Strategies
The 4.7GB reality: Standard DVDs hold 4.7GB, but plan for about 4.3GB of actual video content after menus and navigation.
For longer videos: use dual-layer DVDs (8.5GB), split across multiple discs, or reduce quality settings.
Pro Tips That Make All the Difference
Batch Processing Like a Pro
When digitizing large collections, batch processing saves hours. Set up your conversion queue before bed and wake up to finished DVDs.
Naming tip: Use descriptive filenames like “Smith_Wedding_2019_Ceremony” rather than generic names.
Subtitle Integration Best Practices
External subtitle files (.srt, .sub) can be embedded during conversion. Place them in the same folder with identical names.
Quality Preservation Techniques
Two-pass encoding: Takes twice as long but produces noticeably better quality. Enable this for important content.
Avoid double compression: Use the highest bitrate your target disc can accommodate to minimize quality loss.
The Bottom Line on AVI to DVD Conversion
Converting AVI to DVD doesn’t have to be complicated. Professional software like Wondershare DVD Creator delivers consistently better results than free alternatives.
The key is understanding your source material and choosing appropriate settings rather than accepting defaults.
The goal isn’t just creating a DVD that works, but one that preserves your memories with quality.
For more video conversion techniques, check out our streaming music recording guide.
What’s your experience with AVI to DVD conversion? Share your tips or questions in the comments below.
FAQ
Can I convert multiple AVI files to one DVD?
Yes, most professional DVD creators support batch processing and multi-file projects. You can combine several short videos or create a DVD with multiple titles.
Will converting AVI to DVD reduce video quality?
Quality depends on your settings – proper configuration can minimize quality loss. Using higher bitrates and avoiding unnecessary compression helps preserve original quality.
What’s the maximum video length for a single DVD?
Standard DVDs hold about 2 hours of high-quality video or 4+ hours at lower quality. Dual-layer DVDs can accommodate up to 8 hours of standard quality content.
Do I need special blank DVDs for AVI conversion?
Standard DVD-R or DVD+R discs work fine – choose based on your player compatibility. Name-brand discs generally offer better reliability than generic alternatives.
Can I add custom menus to my converted DVDs?
Yes, professional software like Wondershare DVD Creator offers extensive menu customization including backgrounds, music, and chapter navigation. This makes your DVDs look professionally produced.